
You’ve probably heard of the reverse sear method everywhere, and it’s no surprise why it’s so popular. It consistently produces juicy, flavorful steaks with a charred Maillard crust, all thanks to mastering the internal temperature. Reverse searing is essentially a two-step process - cooking the steak slowly in a low oven, and then searing it over high heat until the crust is golden brown. But what’s the exact time and temperature? And how do you make it? Trust me, this reverse sear steak recipe is easy. Let’s jump right in and get started!
Ingredients:
- Thick-cut steak, about 1.5 inches or 4 cm thick
- Kosher salt
- Freshly ground black pepper
- Vegetable oil
- Unsalted butter
- 2 cloves of garlic
- 2 sprigs of fresh rosemary
Equipment:
- Oven
- Wire rack
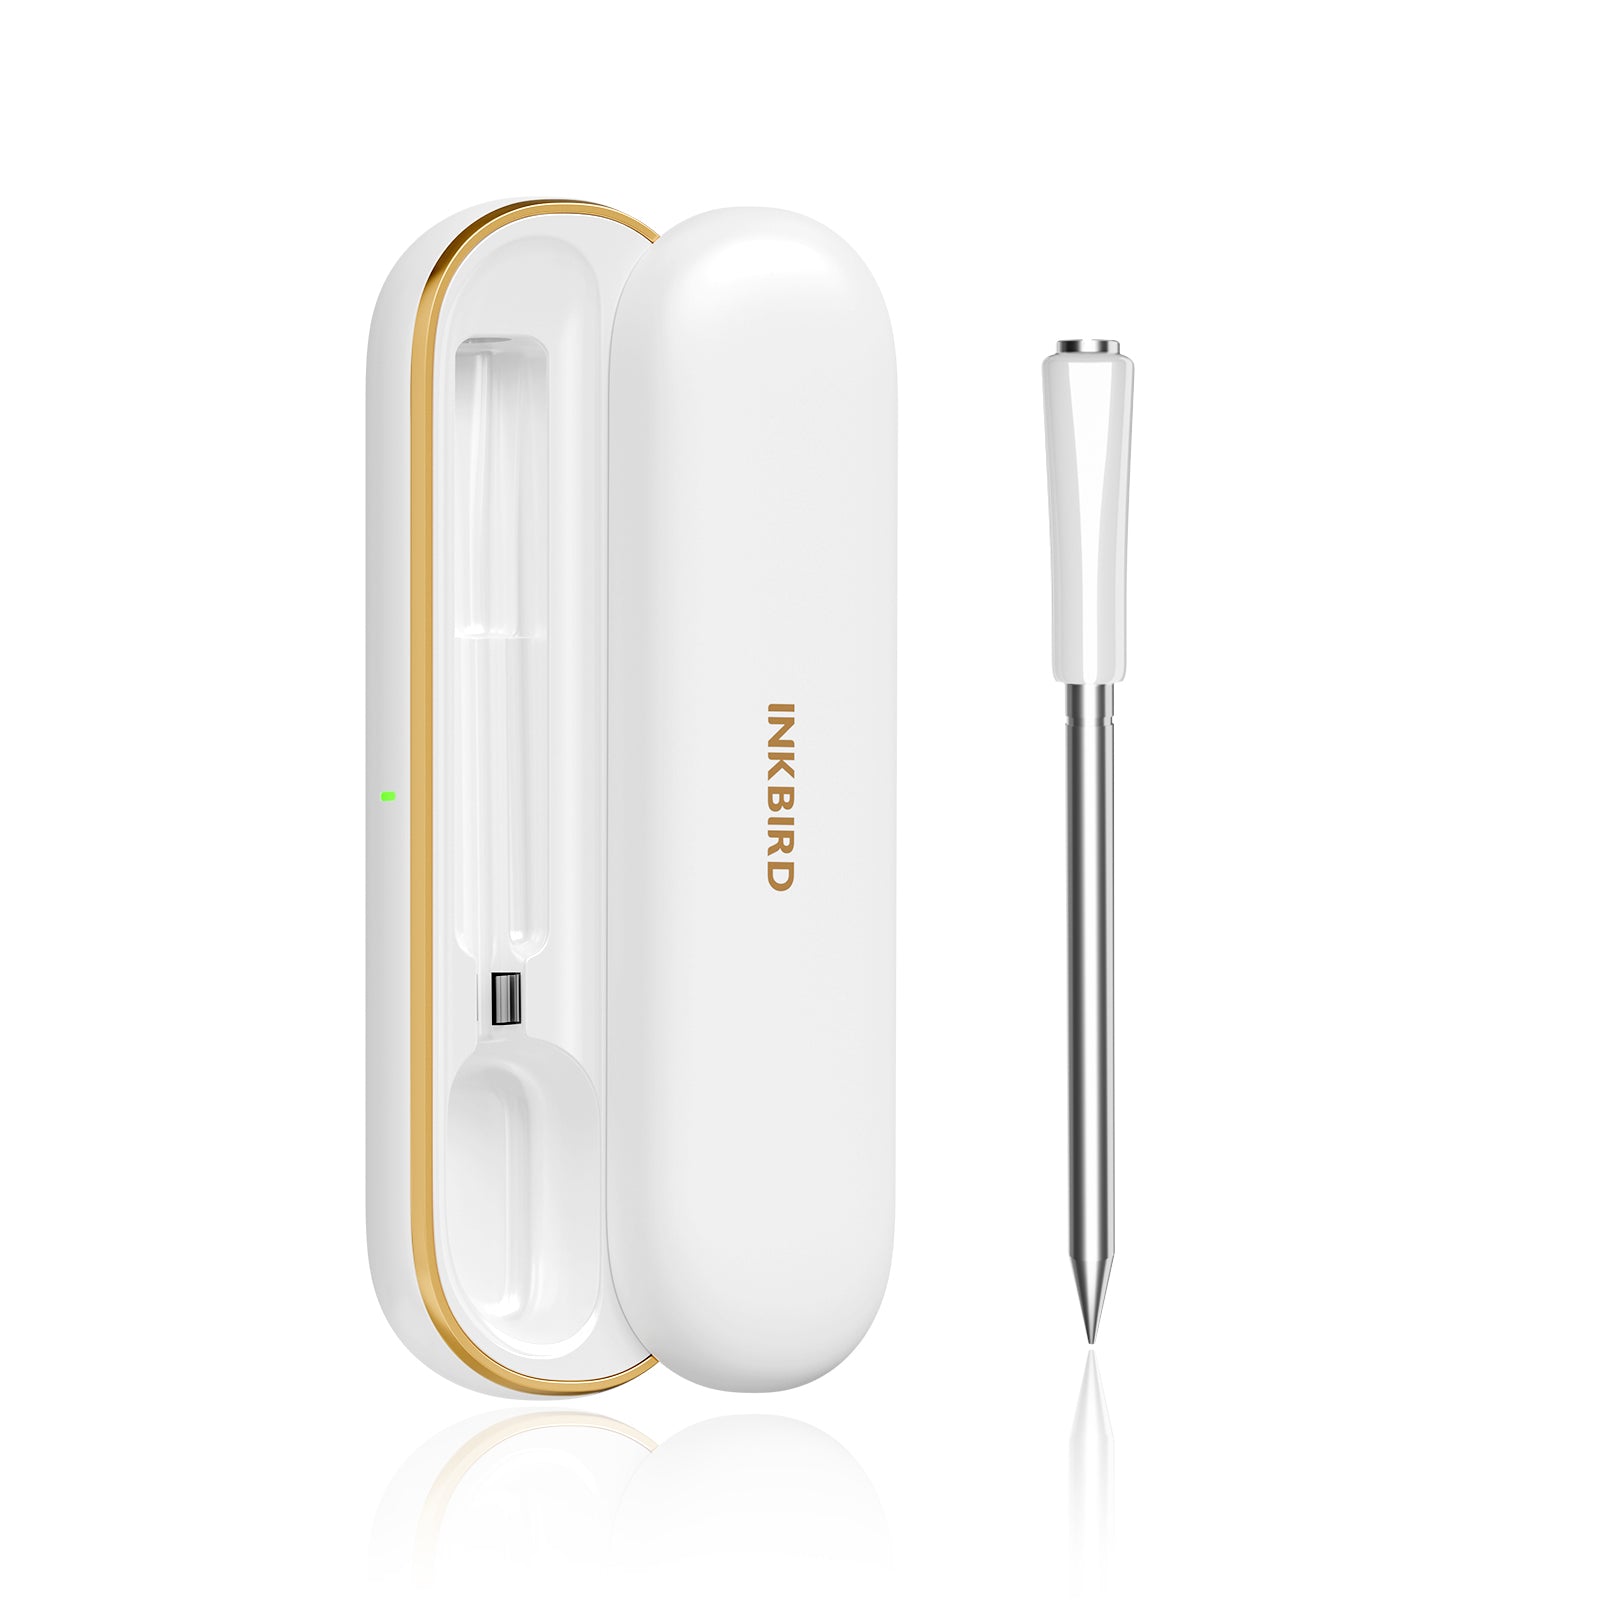
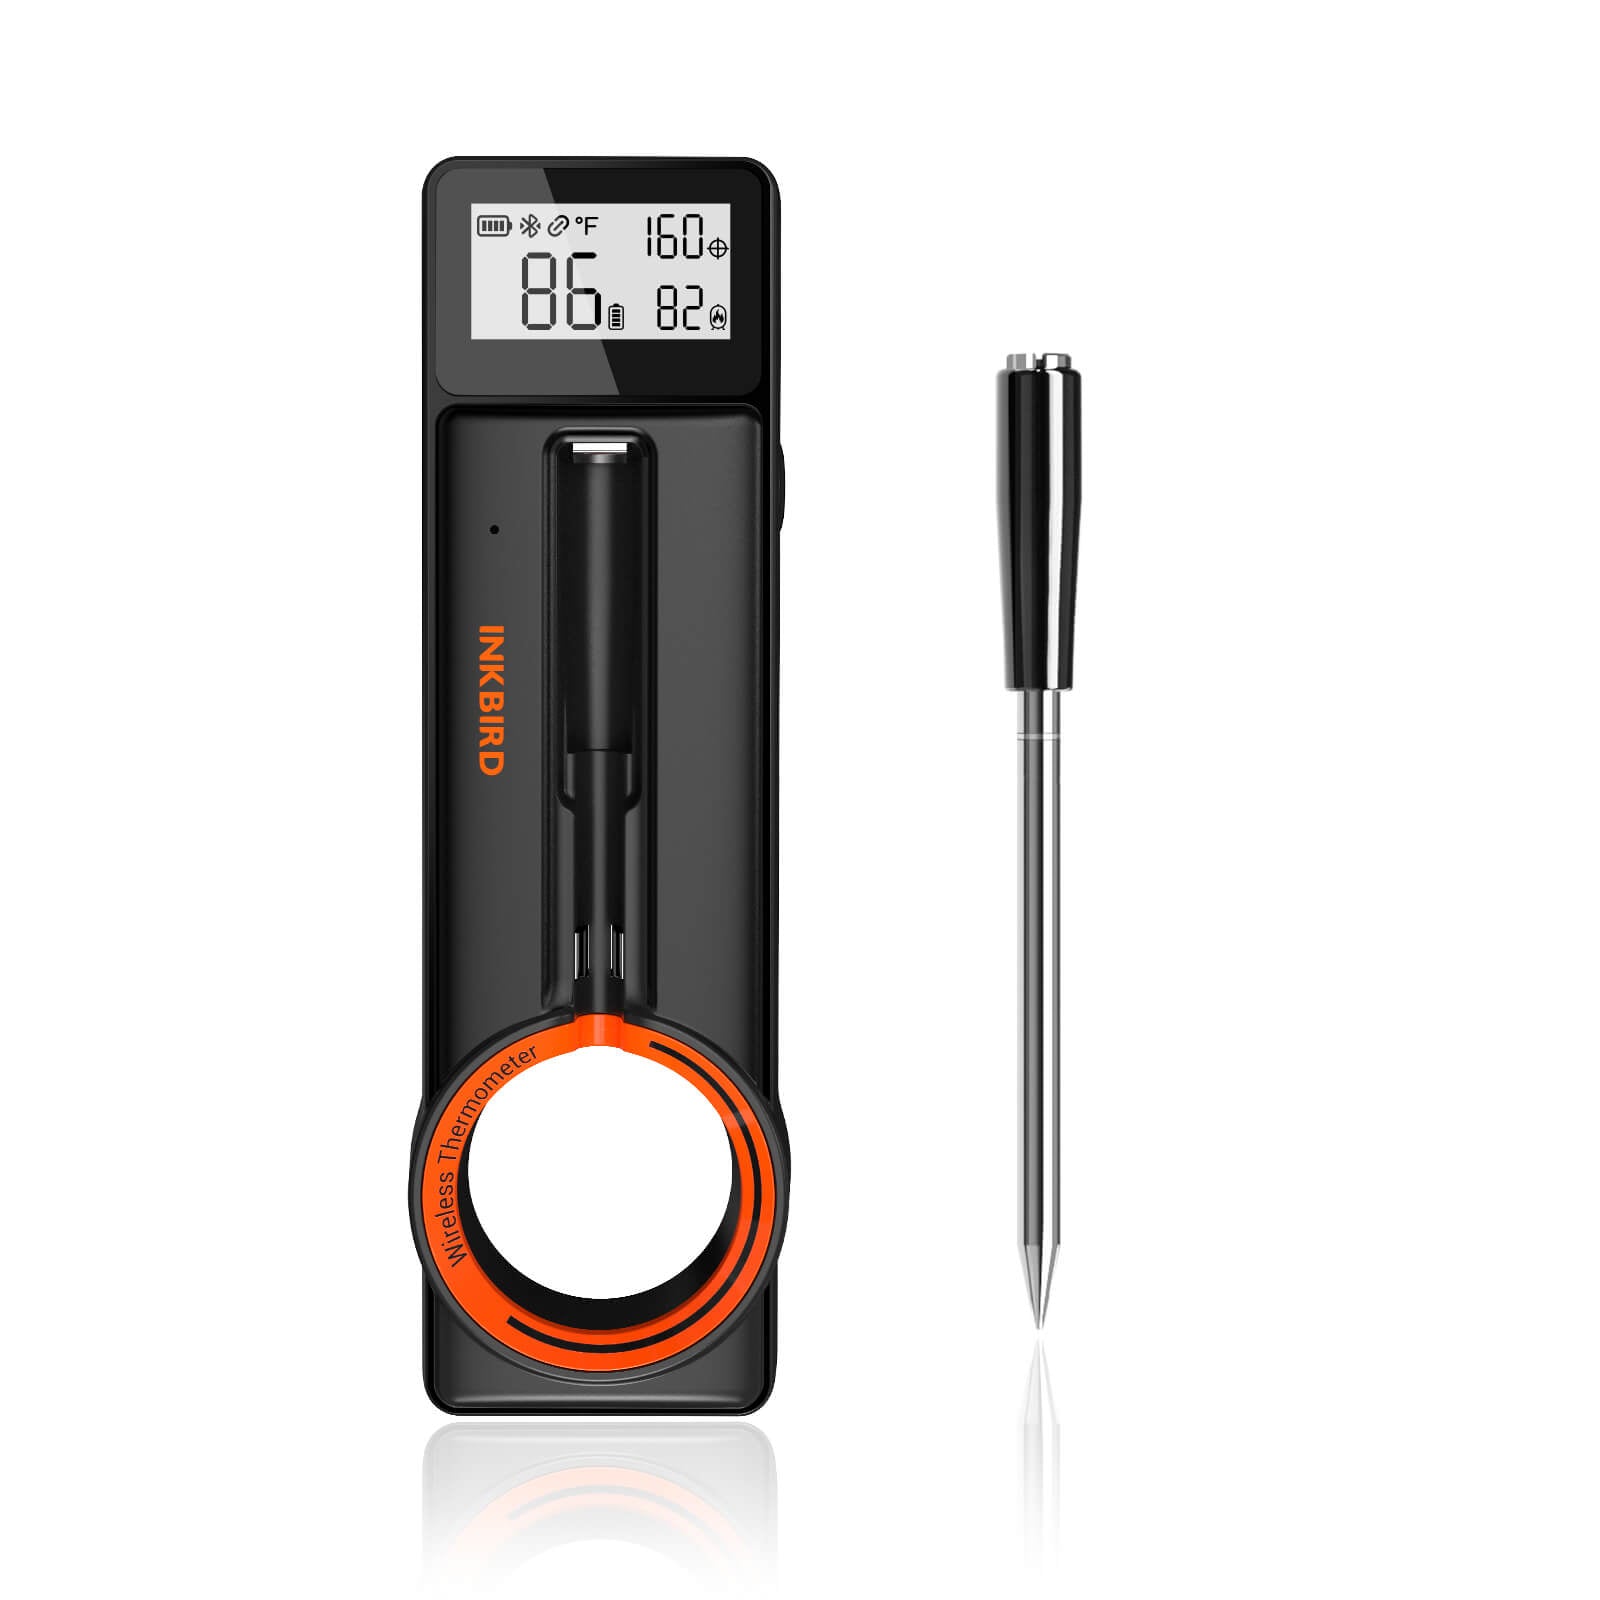
- Wireless oven thermometer
- Heavy Skillet
- Tongs
- Paper towels
- Cutting board
What Is Reverse Seared Steak?
In the past, almost every recipe recommended searing steak first to lock in the juices, but this can easily lead to overcooking. Reverse searing, quite simply, flips the idea on its head by cooking the steak slowly at a low temperature for an even internal temperature first. Then, when the steak is close to your desired temperature, remove it from the oven and sear it at high heat for a perfect crust.
Does it sound a lot like sous vide? Yes, their basic ideas are largely the same. But reverse searing means you don’t need to invest in an additional sous vide machine. Both methods guarantee your steak is evenly cooked from edge to edge. And, most importantly, cooked to your desired doneness without the risk of being overcooked.
If you happen to have a sous vide machine and want to give sous vide cooking a try, check out my sous vide ribeye steak recipe with time & temp chart.

Which Cut Is Best for Reverse Searing?
Any cut of steak you like can be used for reverse searing, but I recommend well-marbled cuts like ribeye, T-bone, porterhouse, or tomahawk. The fat in these cuts will render beautifully in the oven, making it tender, juicy, and full of flavor. While leaner cuts like sirloin, filet, or New York strip will work, they may not deliver the same level of satisfaction. No matter which cut you choose, thickness is key - aim for a steak that’s at least 1.5 inches thick. Otherwise, the steak won’t have enough time to reach an even internal temperature and will easily be overcooked.
Reverse Sear Steak Temperature and Time Chart
The baking times are approximate estimates at oven temperature of 250°F (120°C) and will be affected by the thickness of the steak, its starting temperature, and the oven temperature, etc. So, the best way to determine if your steak is done is by checking its internal temperature with your best meat thermometer, rather than relying solely on time.
|
Doneness |
Pull From Oven At |
Final Temp |
Bake Time |
|
Rare |
105°F (41°C) |
120°F (49°C) |
25-35 minutes |
|
Medium-Rare |
115°F (46°C) |
130°F (54°C) |
30-40 minutes |
|
Medium |
125°F (52°C) |
140°F (60°C) |
35-45 minutes |
|
Medium-Well |
135°F (57°C) |
150°F (46°C) |
40-50 minutes |
|
Well-Done |
145°F (63°C) |
160°F (71°C) |
45-55 minutes |

How to Reverse Sear a Steak in the Oven?
Step 1: Prep Your Steak
Start by patting the steak dry with paper towels to remove excess moisture, then generously season all sides with kosher salt and pepper. Place the steak on a wire rack and leave in uncovered in the refrigerator. Even just two hours will do, but overnight is best. This not only enhances the seasoning and but also helps to dry out the exterior for a thick, crispy, golden-brown crust.

Step 2: Cook the Steak Low and Slow in the Oven
Preheat your oven to 250°F (120°C), but you can definitely set the temperature higher or lower. Anywhere between 225-275°F (107-135°C) will do.
Insert your wireless oven thermometer horizontally into the center of the steak. The advantage of using this kind of thermometer is that it can stay in the oven to continuously monitor the internal temperature of your steak, eliminating the need to frequently open the oven to check the temperature. Just make sure the thermometer is oven-safe, like the INKBIRD INT-14-BW.
After that, place the steak in the preheated oven and cook it according to the reverse steak temperature and time chart above for your desired doneness. If you’re using an instant-read thermometer, just check the temperature periodically.
Once your steak reaches target oven temperature, take it out of the oven and set it aside to rest. Leave the thermometer in it.

Step 3: Reverse Sear the Steak
While the steak is resting, preheat a heavy skillet. Once hot, add some vegetable oil, and it should shimmer immediately. Using tongs, transfer the steak to the skillet and sear it for about one minute per side. After flipping, add butter, garlic, and rosemary to the pan. Tilt the skillet slightly and baste the steak with the melted butter to boost its flavor and browning. The steak is ready when it reaches the final doneness temperature . Serve it right away, as reserve seared steak doesn’t need to rest.

FAQs
Can I reverse sear thinner steaks?
No, the reverse sear method works best with thicker steaks, over 1.5 inches thick. It is a challenge to control the internal temperature of thinner cuts accurately, which can easily lead to overcooking the center before the steak is even cooked through.
Do I need to bring the steak to room temperature first?
No, it’s a common myth for reverse searing. Just pull it straight from the fridge.
Can I reverse sear steak on the grill?
Absolutely, yes. Set up your grill with an indirect heat zone and a direct heat zone. Grill the steak on the cooler side first, following the reverse sear steak temp and time chart above, to oven temperature, then transfer it to the hotter side to finish cooking.
How is reverse sear different from sous vide?
Basically, the principle behind both methods is the same - starting with a low-slow cooking for evenly cooked steak, followed by a high-temperature sear for a crispy, golden crust.
Compared to sous vide cooking, reverse searing is quicker and more economical. One downside of sous vide is that steaks come out wet from the vacuum bag, making it difficult to achieve the same crispy crust as reverse searing even after drying them off. On the other hand, sous vide offers more precise and consistent results and is very forgiving in terms of cooking time, which is virtually impossible to overcook.


Share: