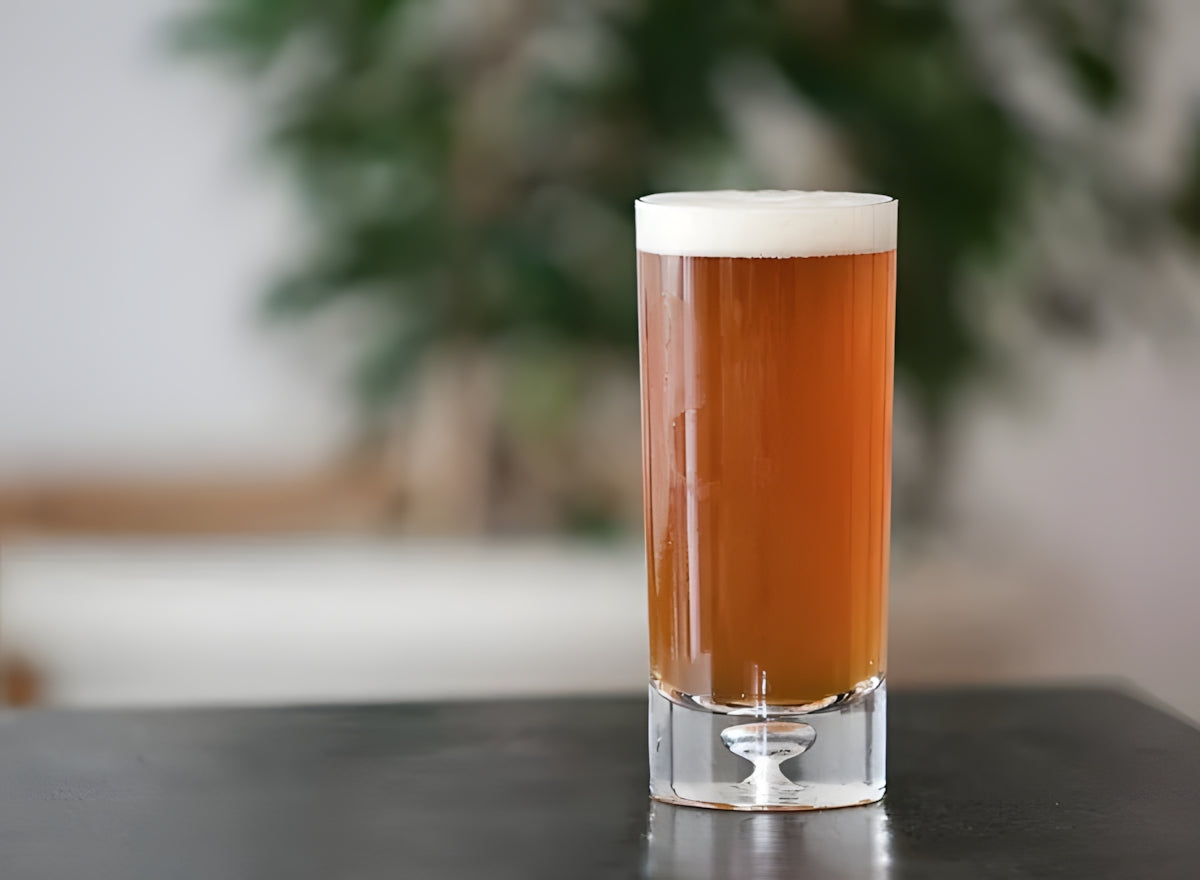
Let's just say that pale ale is the style that led the American craft beer revolution — it's a style that's classic, well-balanced, hoppy, and incredibly refreshing. In the 19th century, advances in brewing technology saw pale ales quickly overshadow traditional English stouts and porters in the UK. This trend eventually made its way to the United States in the 20th century, shaping the craft and homebrewing landscape. That being said, I still remember my first pale ale, which was less than enjoyable — more like a watery brew with a slightly yeasty taste. Fortunately, I've since brewed pale ales that taste delicious. In this post, I’ll cover everything from ingredients to the brewing process, and help you avoid the mistakes I made early on. Get ready to impress your friends and yourself with your very own homebrew pale ale!
What Equipment Do You Need to Brew Pale Ale?
Before you can start brewing, you’ll need some basic equipment, but don’t worry, there’s no need to invest in a professional-grade brewery to get started. Here’s a list of the essentials:
- Brew Kettle, 8-10 gallons for full-volume boils and to prevent boil-overs
- Food-grade bucket or carboy with an airlock, at least 6.5 gallons
- Airlock and stopper
- Hydrometer to determine alcohol content
- Food thermometer
- Temperature controller to maintain ideal fermentation conditions
- Siphon to transfer the wort from the kettle to the fermenter and from the fermenter to the bottling bucket
- Bottling bucket for priming and bottling
- Bottles and caps, approximately 48-50 standard 12-ounce bottles, or 24-25 16-ounce bottles
- Bottle capper
- Cleaning and sanitizing supplies
- Long spoon or paddle
- Grain bag
The Best Homebrew Pale Ale Recipe (5-Gallon Batch)
Now that we’ve got the equipment sorted, let’s talk about the recipe, which has been a solid starting point for brewing delicious pale ales. Of course, you can adjust it to your own taste preferences:
Grains:
- 8 lbs Pale Malt (2-row or Maris Otter)
- 0.75 lb Crystal Malt (40L)
- 0.5 lb Vienna Malt
Hops:
- 0.5 oz 15% AA Simcoe (60 minutes) - 25 IBU
- 1 oz Cascade (15 minutes) - 10 IBU
- 1 oz Citra (5 minutes) - For aroma
Yeast:
- Safale US-05
- Specs:
- OG 1.050 | FG 1.012 | ABV 5.0% | IBU 35
How to Brew Pale Ale at Home?
Sanitize. Sanitize. Sanitize. Before you start brewing, sanitize EVERYTHING that will touch the wort after boiling, including your fermenter, airlock, tubing, bottles and any other equipment that will contact the cooled wort. Once you’ve done that, you’re all set to start brewing your pale ale.
Mashing
Heat about 3 gallons of water in your brew kettle until it reaches your target strike temperature, which is typically around 162°F. You may need to adjust this temperature depending on your specific equipment and grain bill. Once the water is hot, place your grains in a grain bag or directly in the kettle if you have a more advanced setup. Then, carefully pour the hot water over the grains while stirring gently to prevent clumping. The goal is to reach a mash temperature between 152-158°F, as this range is essential for activating the enzymes, which is the next vital part of the process.

Sparging
Hold the mash temperature steady for 60 minutes. During this time, enzymes in the malt will break down starches into fermentable sugars. Think of it as releasing the potential sweetness that will eventually become the heart of your beer. Monitor the temperature closely and adjust as needed, which is where a food thermometer becomes essential.
After the mash, you need to sparge. That is, slowly rinse the grains with hot water (around 170°F) to extract as much of the remaining sugars as possible. This process significantly increases the amount of wort you collect and, consequently, the final yield of your beer. Be sure to aim for collecting a pre-boil wort volume as specified in your recipe.
Boiling and Hopping
Now for the boil, which is important for sterilizing the wort, effectively killing any lingering unwanted microorganisms. It also isomerizes the alpha acids in the hops, which adds both bitterness and aroma to your beer. Additionally, boiling helps coagulate proteins, leading to a clearer finished product.
Bring the wort to a vigorous rolling boil and follow your recipe's hop schedule precisely. Hops added at the beginning of the boil contribute primarily bitterness, while hops added later provide aroma and flavor.

Fermentation
Immediately after the boil, you need to cool the wort as quickly as possible to below 70°F. This step helps prevent unwanted bacteria from developing and supports a clean fermentation process. An immersion chiller is a common and effective tool, but an ice bath works as well, albeit more slowly.
Once cooled, carefully transfer the wort to your sanitized fermenter, leaving behind any sediment in the kettle. Then, aerate the wort since yeast requires oxygen to flourish during the early fermentation stages. You can do this by shaking the fermenter vigorously for a few minutes or by using an aeration stone connected to an oxygen tank.
Finally, pitch the yeast. Ensure the wort temperature is within the yeast's recommended range, which is typically specified on the yeast packet.
Bottling and Conditioning
Now comes the hardest part: waiting. Seal the fermenter with an airlock and store it in a cool, dark place at a consistent temperature, ideally between 65-70°F, for 1-3 weeks. To keep that temperature in check, using a temperature controller like the INKBIRD ITC-308 is a smart move, as it can monitor and adjust the heating or cooling automatically. This is when fermentation happens, as the yeast consumes the sugars and produces alcohol and carbon dioxide.
After about a week, check the specific gravity of your beer with a hydrometer. When the gravity is stable for a few days, fermentation is complete. This usually takes 1-3 weeks depending on the yeast strain and beer style.
The next step is bottling or kegging your beer. Sanitize your bottles or keg thoroughly. If bottling, add priming sugar to the bottling bucket to help carbonate the beer. Carefully siphon the brew into the bottling bucket, avoiding any sediment at the bottom of the fermenter, and then fill your bottles or keg.
Finally, let your bottled beer condition at room temperature for 2-3 weeks to carbonate. Kegged beer can be force-carbonated using a CO2 tank. With a little patience, your homebrewed beer will be ready to enjoy.

Final Thoughts
Brewing Pale Ale at home can be a fun and fulfilling pastime. Don't be afraid to experiment, learn from your mistakes, and most importantly, have fun! With a little practice and patience, you'll soon be brewing delicious Pale Ale in no time. Cheers to that! Now, off you go! The world needs more homebrewed Pale Ale! And maybe, just maybe, your first batch will be better than my first... I’m rooting for you!


Share:
Step-by-Step Guide to Brewing White Wine at Home
How to Brew Your Own Beer at Home?