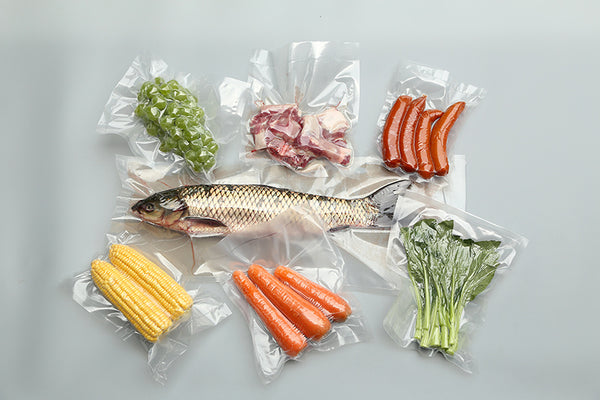
The importance of freshness and preservation in cooking cannot be overstated, with food vacuum sealers playing a crucial role in achieving this. These food savers can remove air from specialized bags, reducing oxidation and extending the shelf life of food significantly. If you want to learn how to use a vacuum sealer to save food and keep it fresh, this guide will help you navigate your way.
What is a Food Vacuum Sealer? How Does It Work?
A food vacuum sealer is a kitchen appliance that removes the air from a plastic bag, creating a vacuum seal, which helps to preserve food and prevent it from oxidation, spoilage, freezer burn, and bacterial growth.
Food vacuum sealers work by using a pump to extract air from a vacuum bag. Once the bag is void of oxygen, a temperature-controlled sealing device swiftly seals the opening to form an airtight barrier.

INKBIRD Vacuum Sealer
Extend the freshness of your food. Perfect for food storage, sous vide cooking, and meal prep.
Learn MoreHow to Use a Food Vacuum Sealer?
Before getting started, you need to prepare the following materials:
- A food vacuum sealer
- Vacuum bags
- Food to be sealed
Then, you can follow the step-by-step instructions below to use the food vacuum sealer.
Step 1: Prepare your food. Food should be clean and dry before it is sealed. You may also want to divide your food into separate portions before sealing it.
Step 2: Choose suitable vacuum bags. Select vacuum bags that fit your vacuum sealer and can accommodate your food.

Step 3: Insert food into bags. Place your food in the vacuum bags. Remember to leave a few inches of space at the top of the bag so that the vacuum sealer can create a seal.
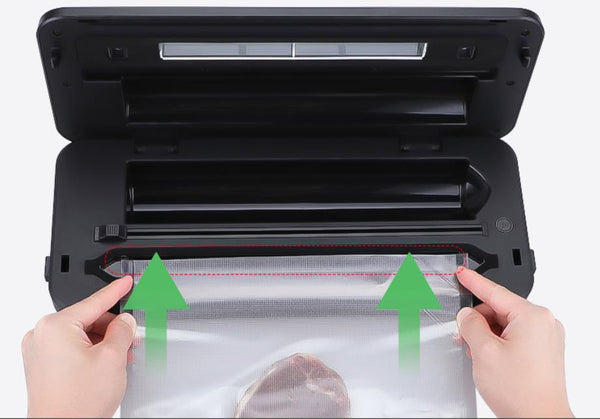
Step 4: Position the bag in the vacuum sealer. Put the open end of the bag into the vacuum chamber. Then, close the lid and press both ends of the lid to lock it. You will hear a distinct “clicking” sound if the lid is properly locked.

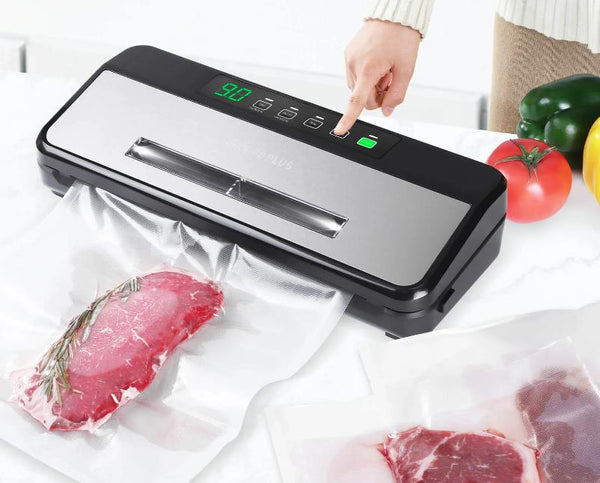
Step 5: Start vacuuming or sealing. Press the “Vacuum & Seal” button. Different brands of machines may have different buttons. For instance, the INKBIRD Vacuum Sealer INK- VS03 is used here as a reference. The vacuum sealer will automatically remove the air from the bag and heat-seal the bag shut.

Step 6: Take out the sealed bag. The indicator light will go out when the vacuum process is completed. Press the unlock button to take the sealed bag out. Double-check if the bag is sealed firmly.
Step 7: Clean your vacuum sealer after usage. If gravy seeps out of the bag, simply wipe it down and let it dry completely.
Video Guide of Using a Vacuum Sealer
Watch the quick demo below on using a food vacuum sealer to keep them fresh for longer.
FAQs
Here are some frequently asked questions when using the vacuum sealer.
1. How long can vacuum-sealed food last?
Generally, properly vacuum-sealed food can extend its shelf life by up to five times, but the duration can vary depending on the food type, initial freshness, and storage conditions. Here is a chart for your reference.
|
In the Refrigerator (5±2℃) |
Vacuum Sealed |
Normal Storage |
|
Meats |
8-9 Days |
2-3 Days |
|
Seafood and Fish |
5-7 Days |
1-3 Days |
|
Vegetables |
7-10 Days |
3-5 Days |
|
Fruit |
9-12 Days |
4-6 Days |
|
Eggs |
30-50 Days |
10-15 Days |
|
Snacks |
12-24 Months |
6 Months |
To check specific meat shelf life, see: How Long Does Vacuum Sealed Meat Last?
2. Can I vacuum seal liquids?
Unfortunately, most home vacuum sealers are not intended for sealing liquids, as they can be sucked into the machine and cause damage. Unless you have a vacuum sealer specifically designed for liquids. Alternatively, you can freeze the liquids until they solidify before attempting to seal them.
3. What food cannot be vacuum sealed?
Avoid vacuum sealing soft cheeses, mushrooms and garlic, as the process can alter their texture and flavor. In addition, cruciferous vegetables like broccoli, cabbage, Brussels sprouts, and cauliflower will release gases during storage. To avoid this, blanch them for a specific duration before vacuum sealing.
4. Can I cook sealed food in vacuum bag?
Yes, vacuum-sealed food can be cooked in a variety of ways, including sous vide, boiling, and microwaving, but be sure to use a vacuum bag that is designed for cooking and follow the specific instructions for your appliance to ensure safe cooking.


